Stitches
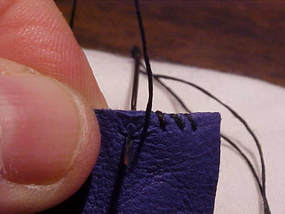
My research indicates that two stitches were primarily used to sew gloves. The round stitch has the same technique as the whip stitch only the stitches were placed as close together as possible. The round stitch is created by putting the needle in on one side and bringing it through to the other side. Carry the thread over the top of the seam and repeat. When getting started, tuck the tail by running the excess piece along the edge and as you insert a stitch and bring it around, bring it over the tail as illustrated in the picture. The placement of the hole should be even along the seam and as close as possible to the next hole. This stitch is used for the finer leathers like French kid, shammy and sheep.
My research indicates that two stitches were primarily used to sew gloves. The round stitch has the same technique as the whip stitch only the stitches were placed as close together as possible. The round stitch is created by putting the needle in on one side and bringing it through to the other side. Carry the thread over the top of the seam and repeat. When getting started, tuck the tail by running the excess piece along the edge and as you insert a stitch and bring it around, bring it over the tail as illustrated in the picture. The placement of the hole should be even along the seam and as close as possible to the next hole. This stitch is used for the finer leathers like French kid, shammy and sheep.
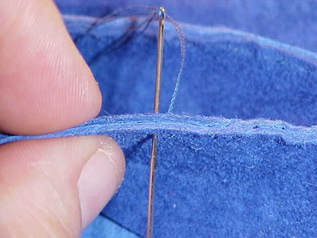
The Prix stitch was used for the heavier leathers like buckskin, doeskin and cabretta. The technique for this stitch is similar to the running stitch. Hold two pieces of leather together and put the needle through, but do not come over the top. Instead, put the needle through next to the hole you just came out of. Place the holes as close together as possible. The length of the stitch must be consistent and evenly parallel to the edge.
|
Starting and Stopping
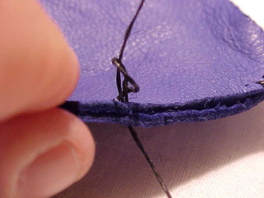
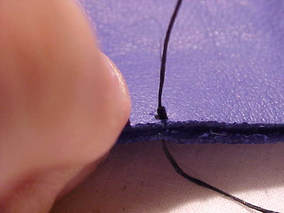
To tuck a tail, you need to bring the needle back through to the original side then go back through the same hole you just came out of leaving a twisted loop. Put the piece of tail inside the loop, and then very slowly pull from the other side. The loop will close holding the tail in place. This is called a glovers knot. For all types of leathers I recommend the prix stitch for sewing in the thumb for it’s stronger and can resist the stress the thumb usually incurs. I highly recommend that you practice the stitch you are going to use before you actually use it on a glove. The stitches are a very important part of the glove. They provide strength when holding the pieces together. Neat stitches give a glove a neat appearance. In the middle ages, the glover was able to get 32 stitches per inch. |
|
